OBS Studio ships with a bunch of audio plugins (Gate, Compressor). On Windows you can use VST Plugins too.
Like most DAW’s, the VSTs used must match the Architecture (i.e. 32bit vs 64bit).
A good set of plugins for this are these VSTs from the developer of Reaper. They are available in both 32bit and 64bit.
http://www.reaper.fm/reaplugs/
Configuring decent Audio
I’m using a 3-stage setup.
- ReaFir (FFT)
- ReaEQ (EQ)
- ReaComp (Compressor)
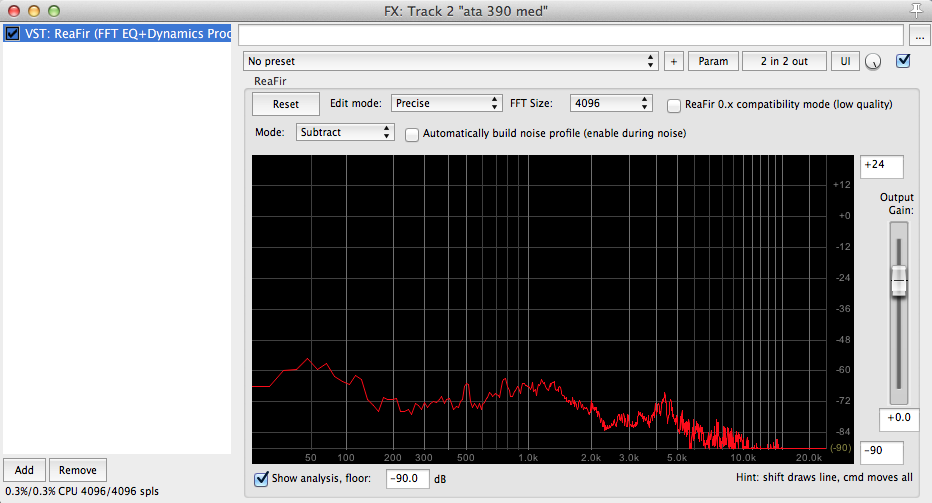
ReaFir can be used to capture the noise profile of the room.

Simply select the SUBTRACT mode, and click the checkbox beside it to toggle capture mode. Also, you may want to up the FFT size for better fidelity (at the cost of more CPU).
You should do this any time your noise conditions change. i.e. you turn on a fan or such.
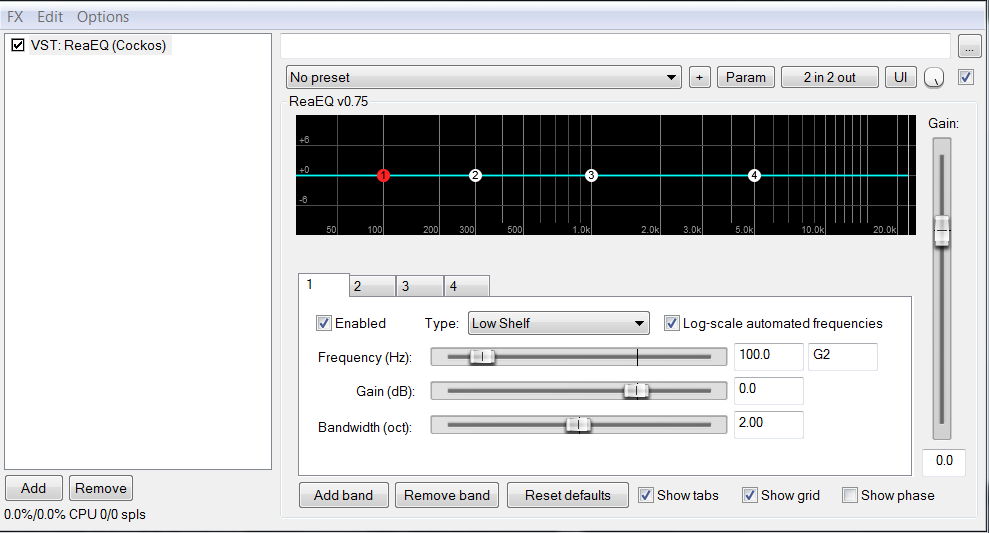
ReaEQ can be used to tweak the dynamics, remove muddyness from audio.

My current setup is a 5 part EQ.
- High Pass: 50 Hz, 0 dB gain, 2 oct – Reducing the sound of thumps from tapping mic
- Band: 80 Hz, 5 dB gain, 2 oct – Giving my voice more of a bassy boom (~100 Hz)
- Band: 230 Hz, -3 dB gain, 1 oct – (theoretically) removing the mud (~300 Hz)
- Band: 4000 Hz, 2 dB gain, 1 oct – (theoretically) raising my S, TH, F accents for more clarity
- Low Pass: 21000 Hz, 0 dB gain, 2 oct – Something in my room is resonating at ~20k Hz, so it’s to hide that
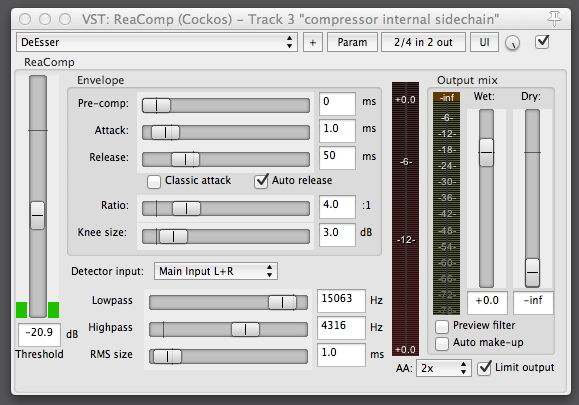
ReaComp is the compressor.

The realtime graphs are extremely useful here (since they *cough* actually have numbers).
-
Drop the Threshold slider to where you want the compressor to kick-in. Depending on your goals, this may only be once the audio goes loud. Alternatively you can watch the level for when any talking (even quite talking) kicks in, and adjust accordingly. I’m currently at -44.0 dB.
-
Pre-comp: 5 ms – Seems to stop some of the spikes I was causing.
-
Attack/Release: 3 ms/100 ms (default)
-
Ratio: 4:1 – I tried much higher values (32), but if you can have a lower ratio compressor,
the sound quality is nicer.
-
Knee: 8 dB – Typically when the volume hits the threshold, it is immediately divided by the Ratio. With a Knee, the ratio divisor is smoothly interpolated until it reaches the knee
-
Output Wet: +22 dB – My mic is set rather quiet. Yes I could tweak it.
The microphone is on an arm stand now, placed 6+ inches from my face, with the sock-top roughly at the same level as the bottom of my nose.
Audio Volumes
The above configuration puts my mic volume around -12 dB to -6 dB at 100%. Game audio needs to be adjusted accordingly.
Games with Chiptune music should be about 20% volume (-14 dB). i.e. Shovel Knight, Creepy Castle.
Games with more normal music should be between 30% (-10.5 dB) and 40% (-8 dB). Freedom Planet was a touch too loud at 40%, so I’d suggest 35% (-9.1 dB).
Games with pre-balanced Music and Sound FX might need more volume. Monster Hunter internally defaults to 80% Music Volume, and 100% SFX volume. I found playing with an OBS volume of 45% (-6.9 dB) worked fine.
Routing Windows Audio
Unless specifically supported, applications route their audio to the current Default audio interface. The default can be changed to any attached audio device, or with the help of 3rd party software: to a virtual device.
This can be done with software like Virtual Audio Cable. The software is shareware.
http://software.muzychenko.net/eng/vac.htm
A free alternative that gives you 1 virtual device is VB-Audio.
http://vb-audio.pagesperso-orange.fr/Cable/index.htm
You can then use Audio Router to route the audio from an application to specific audio interfaces.
https://github.com/audiorouterdev/audio-router
As an example, on my setup my “LG TV” is my main audio output (Optical). Devices can be routed to either the default, or 1 or more specific devices. For example, to both capture and listen to game audio, I have to make a route to the “LG TV” (not the Default), and to the virtual device.